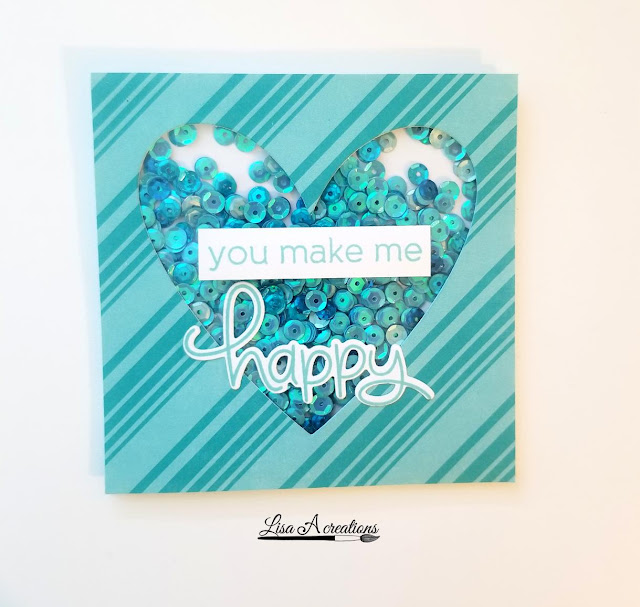
Today I made a shaker card. I started with a square piece of blue striped patterned paper. I die cut a heart in the center using Lawn Fawn's "Heart Stackables". Then I adhered a slightly smaller piece of acetate on the back. Still on the back of the card, I outlined the heart shape with some Darice double sided adhesive strips to create the well for my sequins. (This tape is the best for creating shaker cards. ❤ It's so easy to bend and shape into the space you need.) I also added strips of that same foam tape around the corner edges of the card. Then I filled the heart well with blue sequins. Since I wanted to fill the area with sequins and not show a lot of white space, I added A LOT of sequins. After I was happy with the amount, I took a square card base and placed it on top to close the shaker card.
To finish off the card, I stamped the sentiment you make me from Altenew's "Halftone Smile" stamp set with some Lawn Fawn mermaid ink. I also stamped and die cut the happy sentiment from Lawn Fawn's "Happy Happy Happy" stamp set with the same ink. I adhered the happy sentiment with Ranger's Multi Medium Matte and the you make me sentiment strip I propped up with some 3D foam squares.
Here's a short video of the process of making this card. 👍
I hope you guys enjoyed this tutorial. Thanks for joining me today! 💕
